✏️ Note: Basic Q&A features are available on all our paid plans while Moderation and Advanced Authoring features are available on Pro and Enterprise plans. For more details see our pricing page or contact us
1. Authoring a Q&A
You have complete flexibility when authoring a Q&A. You can create one from the web app or from within Slack.
Q&A authoring from the Web Dashboard
To create a Q&A, follow these steps:
- Navigate to the Polly Web Dashboard and click on the Q&A section on the left
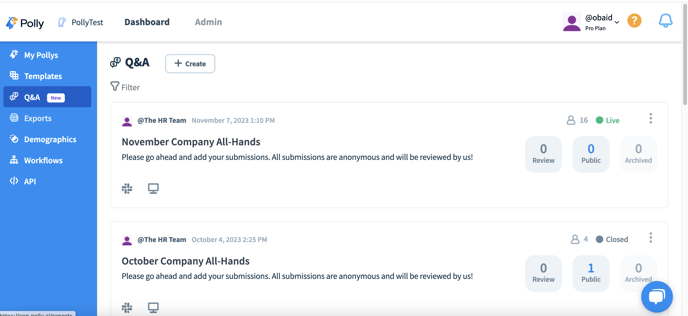
- To initiate Q&A authoring, simply click on the "+ Create" button at the top. This will open the authoring and configuration settings. Start by selecting a Slack channel to post the Q&A in. This will prompt audience members to submit their questions.
- Include a title and an optional message that will be visible to audience members, just like you would write for any Slack message.

Here are some important settings which are enabled by default:
Moderation: submissions are not made public until they have been reviewed and approved by facilitators.
Upvoting: allows audience members to upvote submissions once they have been approved and made public.
Anonymity: gives audience members the option to post submissions anonymously if they prefer.
- Audience Interactivity: Here you control how public submissions, public replies, and upvotes appear for audience members. Choose between:
- Slack Channel + Link: Posting each submission as a separate message in Slack
- Slack Thread + Link: Keeping everything in a single Slack thread
- Share a Link: Q&A and related submissions will only be accessible on the web and not in Slack.
- If you selected one of the Slack options in audience interactivity then after clicking on the “⚡Send Q&A” button, the Q&A will be posted to Slack and you will receive a standard Polly message that allows you to copy a web link for distribution. You have the option to make this link protected; requiring audience members to authenticate via Slack or you can make it public allowing anyone with the link to make a submission.
- If you selected share the link option then on sending the Q&A you will be presented with a protected link only but you have the option to get a public link by going in to advanced settings.
💡 If you are creating a Q&A in a private channel please refer to this help doc: Adding Polly to a Private Channel

💡To customize or fine-tune any of these options, simply click on Advanced Settings. You will find detailed explanations and instructions on all of these settings and more in the Advanced Authoring section.
Q&A authoring from within Sack
To create a Q&A from within Slack:
- From the left navigation menu click on Polly under Apps.
- Click on the Create a Polly button.
- From the creation options that pops up, click on the
 Q&A button.
 - You will be presented with the Q&A creation modal, you can fill out a title, an optional message to add context for respondents and a channel to send the Q&A in.
- Depending on your subscription plan, additional settings may be available that allow you to set moderation, allow upvotes and anonymity option for respondents.
- When you click the Send now button your Q&A will be created and the confirmation screen will show you two links:
- Presentation View link to present and/or share your results in a meeting
- Web Voting link to allow respondents to vote on the web, they will need to sign in using their Slack credentials. If this is not required, you can click on the Change link settings button and remove the web voting link. You can also access the link configuration setting by going to the post in the channel and clicking on the three dots next to it and clicking on settings.


- Editing a Q&A: You can edit your Q&A and manage submissions on the web app. To do this you can either go directly to your web dashboard or you can go to the Q&A post in the channel, click on the three dots in the top right to access settings. You can then click on the Manage in Web app or Manage Submissions on web button to go directly to this Q&A in the web app.
- Closing the Q&A: On the same settings menu you will also see an option to Close the Q&A for further submissions. Don't worry you can also re-open it later from here if required.

- Re-opening the Q&A: To re-open a closed Q&A, just go to the Q&A settings again as shown above where you will see the Close button replaced with a Re-open button. Click on this and set a new close date/time then click Reopen.

2. Audience Experience
The audience experience includes the ability to post submissions, upvote on public ones, and review written replies to submissions.
- Posting Submissions
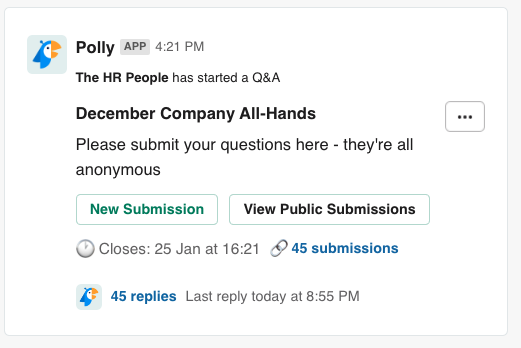
To start the process, ask audience members to post submissions through the Slack channel or the web voting link.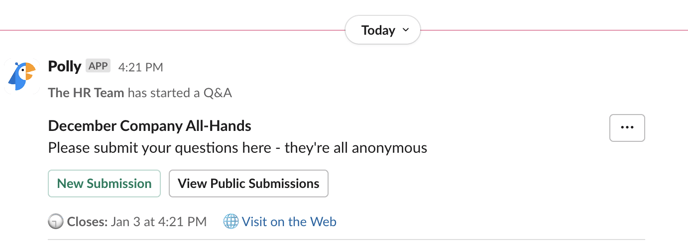
Audience members can add new submissions a number of ways in Slack, depending on the way you've configured things
By selecting the "Submit anonymously" option, they have the ability to add new submissions for review (up to 2000 characters) while keeping their identity completely anonymous.-png.png?width=522&height=613&name=Screenshot%202023-12-27%20at%204-36-31%E2%80%AFPM%20(1)-png.png)
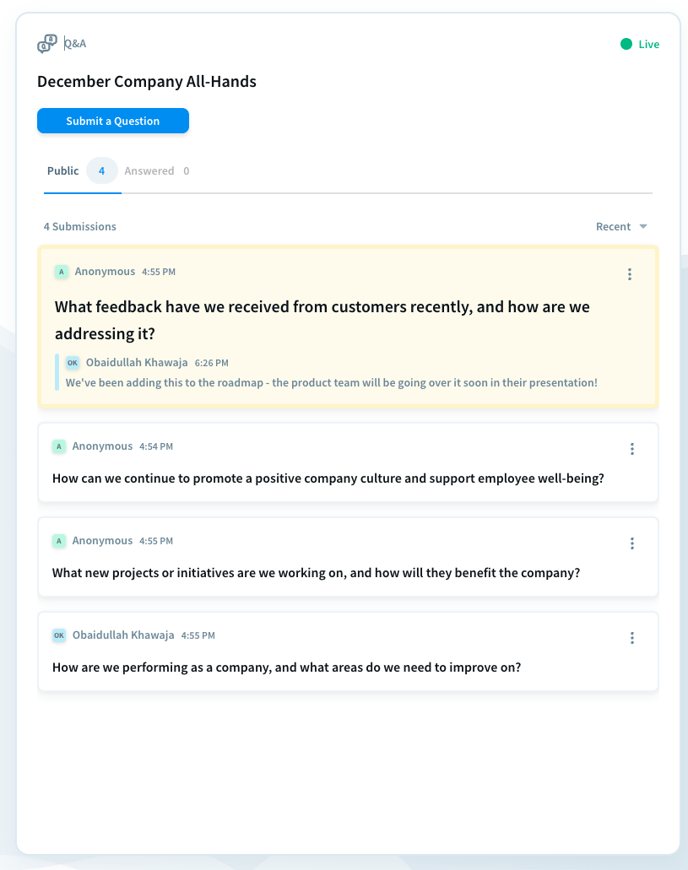
Audience members also have the option to navigate to the web link and submit their questions from there. Similar to Slack, this web voting view provides the audience with the ability to upvote submissions, view replies, and access archived submissions.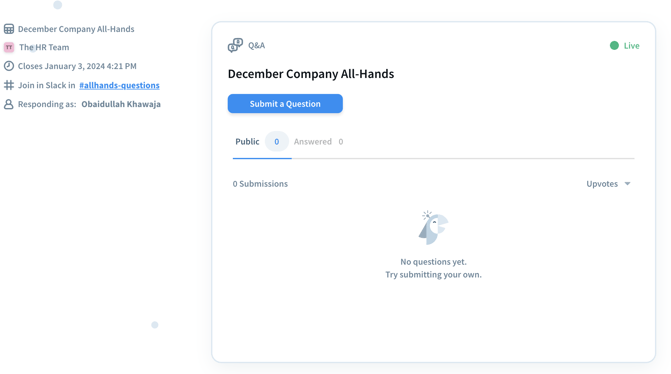
- Reviewing Submissions, Public Replies and Upvoting
Audience members can also show their support for submissions that resonate with them by upvoting them. This enables the presenting team to address the most important topics first.
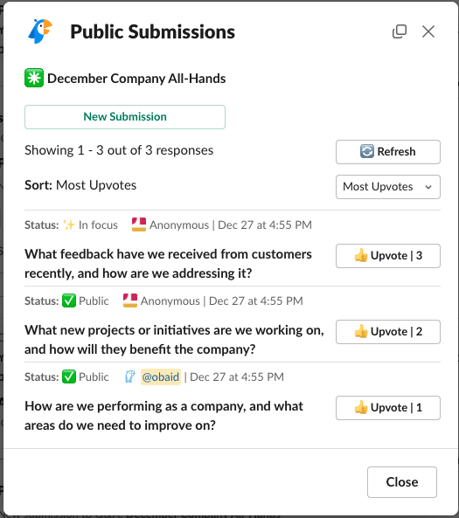
They can do this either through Slack, by upvoting the public submissions posted in the channel, or by using the View Public Submissions modal in the Q&A Slack channel.
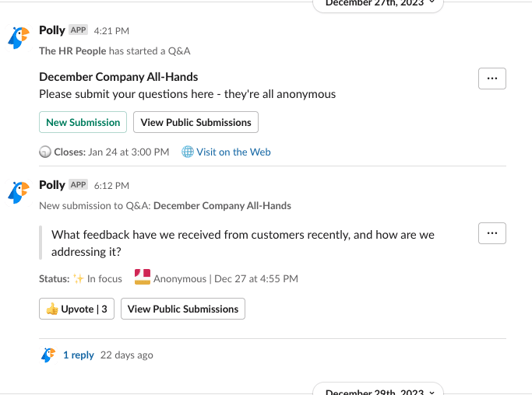
In Slack, audience members will be able to upvote a few different ways, depending on how you've configured things.-
Slack Channel: Public submissions will be posted as new messages in the same channel as the Q&A post. Public replies will be posted as threaded messages for the submission.
-
Slack Thread: Public submissions will get added in a single thread below the Q&A post. Public replies will also get posted in this thread.
-
Only on the Web: Public submissions will only get posted on the audience web view. Submissions will not be posted in Slack.

-
💡In the Slack options above, audience members can click on View Public Submissions to review them and upvote on them. Public replies do not appear in this view and users will need to refresh the modal to see the latest public submissions.
In addition, the audience web view allows audience members to upvote public submissions and view any replies to them.
3. Adding other collaborators
💡 Tip: You can also add collaborators to your scheduled Q&A.
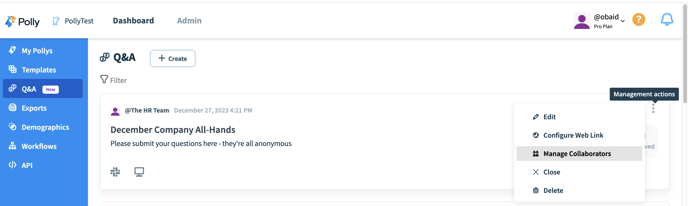
Once you've created a Q&A, you have the option to invite other collaborators to assist you. Collaborators can perform all the same actions as the author, except for editing or closing the Q&A.
To add collaborators, navigate to the Q&A home page, click on the Management Menu (…), and easily invite others to join and contribute.
You can also add other collaborators while creating the Q&A itself - something we cover in the Advance Authoring section.

4. Review and Manage Submissions from Control Room
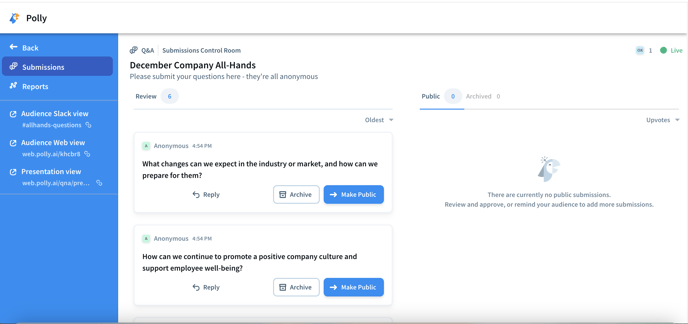
Now that audience members have started adding submissions, let’s cover all the actions you can perform in the Submissions Control Room. You can access this feature by clicking into the Q&A itself from the Q&A home page
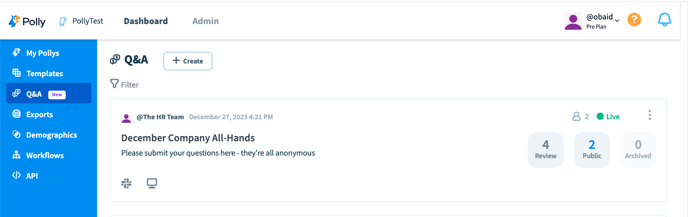
Once you click into the Q&A you’ll see the Submissions Control Room which consists of 2 main columns in the center (if moderation is on). Submissions pending review are on the left while public and archived submissions are on the right
Here are the actions you can take in the Submissions Control Room:
- Make a submission public: Move submissions from the review state to public, making it visible to your audience.
- Archiving a submission in review: Move submissions to the archived state. Similarly, marking a public submission as answered will also move it to the archived state.
Note: If a public submission is archived, it can still be viewed by the audience, but if it was archived during the review stage, it will not be visible to the audience. - Sorting/Filtering: You have a number of sorting options available to you, using the sorting filter you can sort submissions by newest, oldest or by upvotes. You can also drag and drop submissions if you want to see them in a custom order. Submissions can also be dragged from Review to Public and vice versa. Whatever order you set will be replicated in the presentation view in real time.

- Highlight a submission: When you highlight a submission from the Control Room, it will be highlighted both in the control room and on the Presentation View. This is a useful way to control what’s being presented, especially if you're working alone or in a small team.
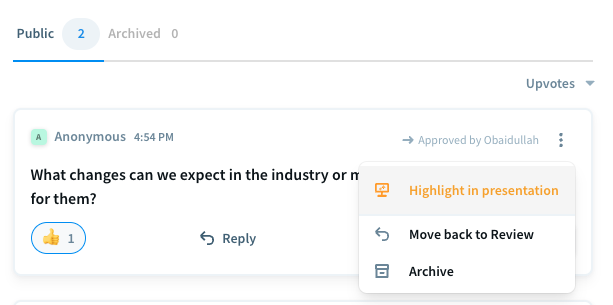
Highlighted submission in the Control Room
Highlighted submission in the Presentation View
- Respond publicly or privately to submissions:
💡 Private replies cannot be sent to guest submissions

Submissions in Review can only have private replies, which is useful for providing clarity or responding privately to anonymous submissions.
The person who submitted the question will receive a direct message (DM) in Slack with the private response included.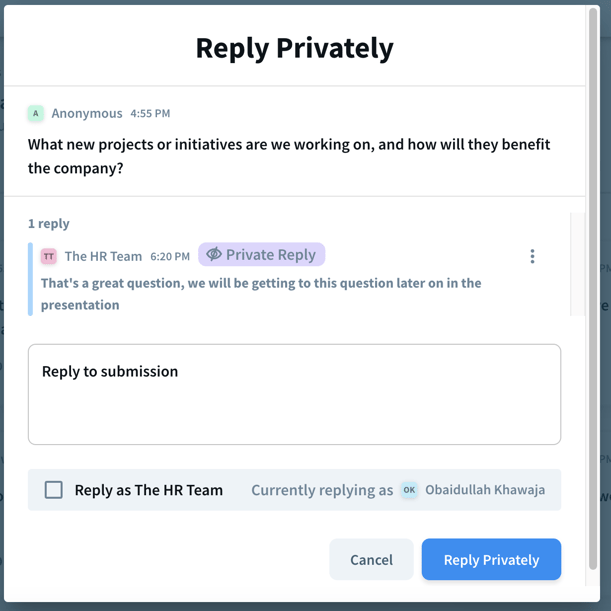
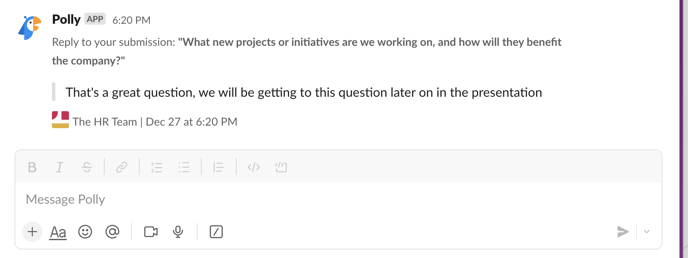
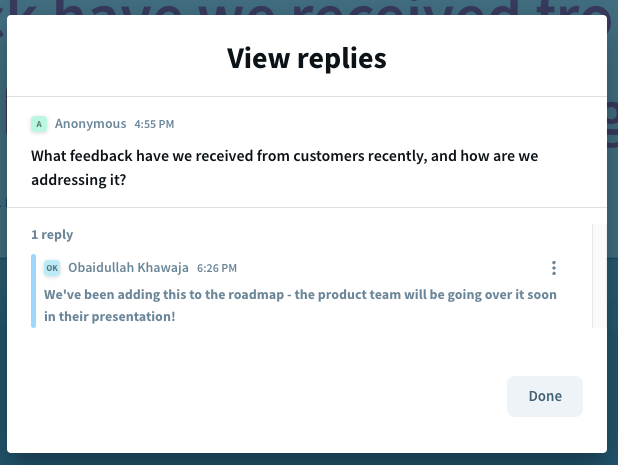
Public submissions can only have public replies. Any public reply will be visible to the audience in Slack and on the web voting link as well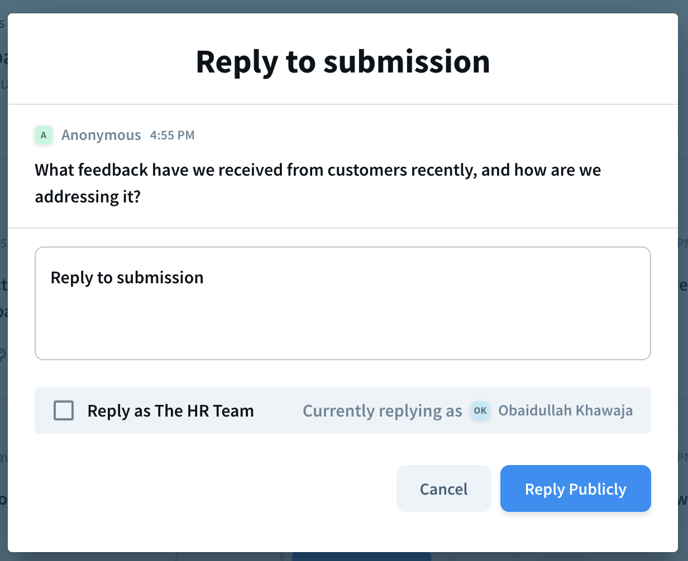
If a submission in review is made public, please note that any private replies associated with it will not be visible to others. However, all collaborators can still access the reply thread in the Control Room and actively participate in it. This provides an excellent opportunity for the appropriate person to respond to the submission effectively.
Replies in Slack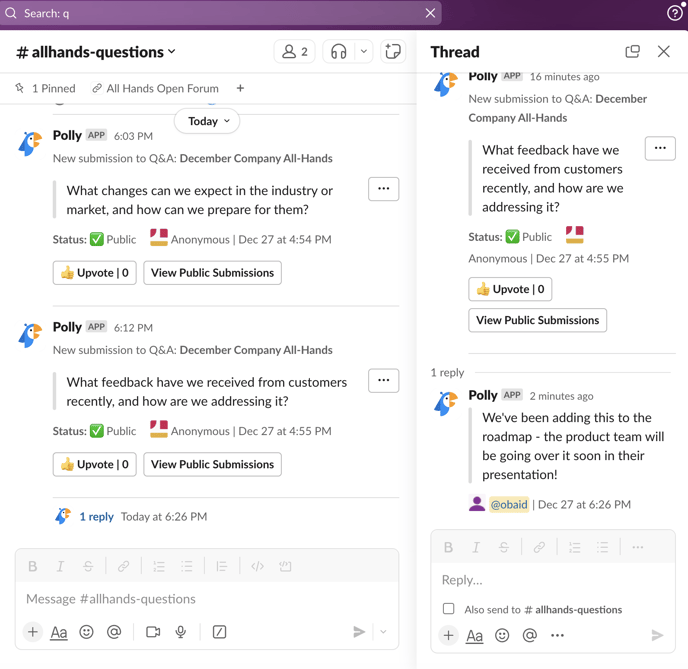
And replies on the web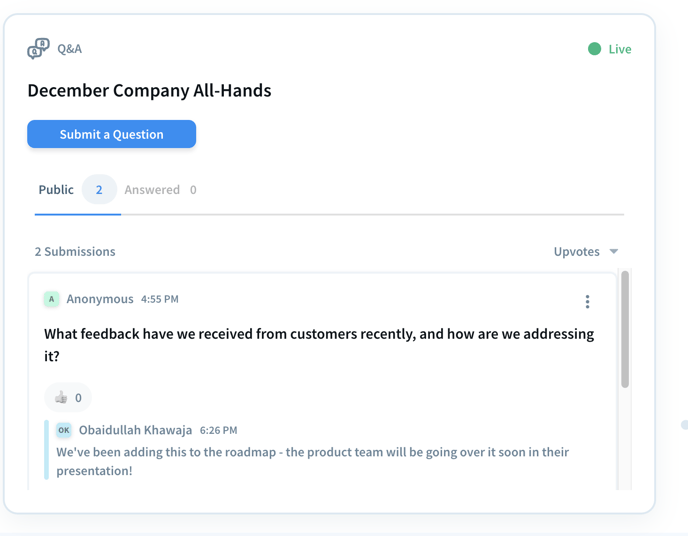
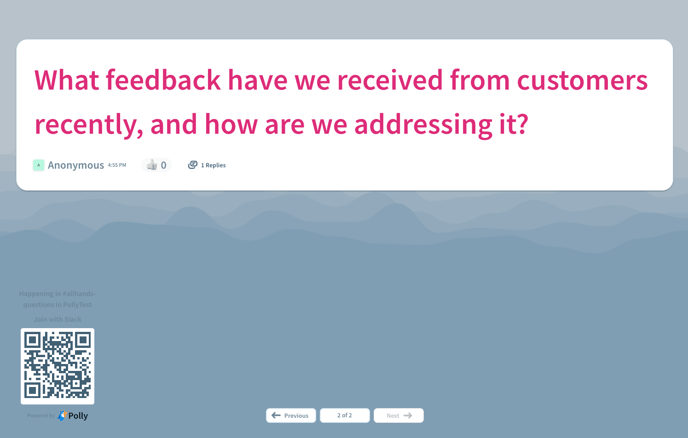
5. Presentation View
The Presentation view is a fantastic way to keep your audience engaged during the meeting in a distraction-free zone.
This purpose-built view allows you to seamlessly present and address any questions that may arise during the meeting.
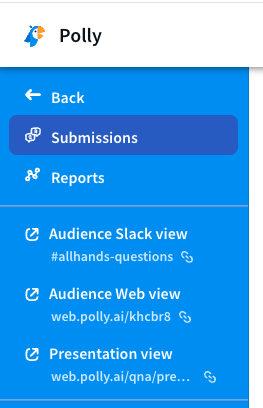
To access this feature, simply click on the Presentation view located in the left-hand panel of the Control room. This will open a new tab, providing you with an optimized and user-friendly experience.
In the default view, you'll find a list of all public submissions, including any highlighted submissions from the Control Room. The default sort order is based on upvotes, but you can also choose to sort by oldest or most recent submissions.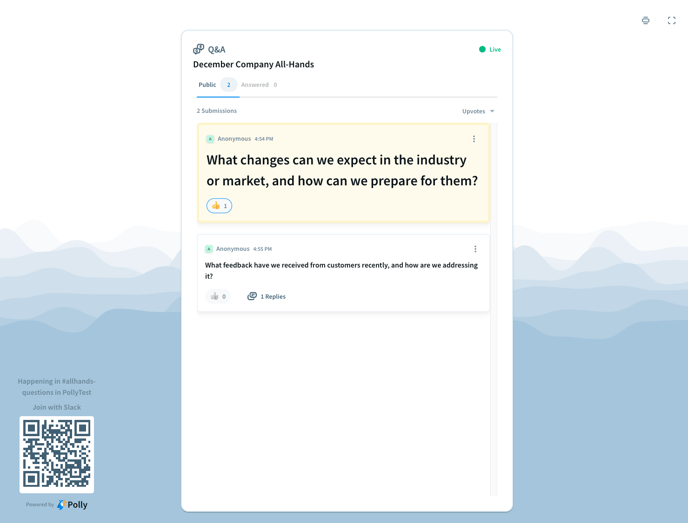
There are a number of actions you can perform here on each submission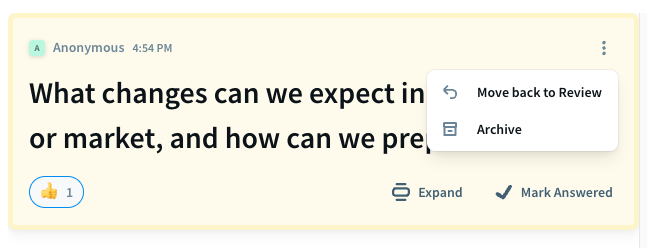
-
Highlighting a submission makes it clear to the audience which one is currently being discussed. You can easily do this through the Control Room or by clicking on a submission in the list. Simply clicking on it again will remove the highlight.
-
From here, you can also mark a submission as answered, which will move it to the Archive tab and remove it from the main presentation view.
-
If you need to review the submission again, you can move it back to the review stage, removing it from the presentation view and audience public views. You can still access it from the control room.
-
Additionally, you have the option to archive a submission, which removes it from the audience's public view. However, you can still access it from the control room.
-
To view public replies to a submission, simply click on the "Replies" text within the submission. This will load the entire public reply thread, excluding any private replies.
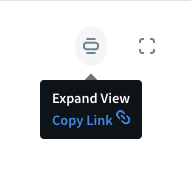
- When you expand a submission, it takes you to a unique presentation mode where only that submission is shown.
In the Presentation view, you can effortlessly browse through submissions using the next and previous buttons at the bottom of the screen. Furthermore, you have convenient controls on the top right that allow you to exit this view or switch to full screen mode for a more immersive and enjoyable experience.
💡You can also enter this expanded mode by clicking on the Expand View icon on the top right of the list view. You can also copy a link for the expanded view from here in case you need to share it with a separate presenter
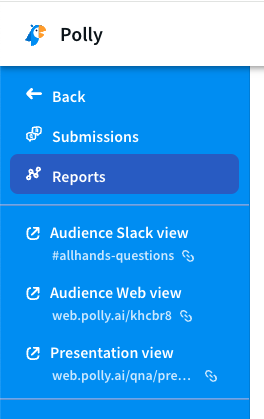
6. Reports and Exports
To gain real-time and post-Q&A insights, you can access the Reports dashboard. From here, you can also export data related to the Q&A.
To access this feature, simply click on "Reports" in the left-hand panel of the Control Room. If you want to view the Presentation, click on it and it will open in a new tab.
💡This dashboard updates in near real-time view and will also be the final report after the Q&A has closed.
- Reports
Let’s walk through the 5 separate reports you see on your Reports Dashboard
- Submissions shows you the total number of submissions received and their breakdown by anonymous vs non-anonymous. This includes submissions regardless of status, whether they are in review, public, or archived.

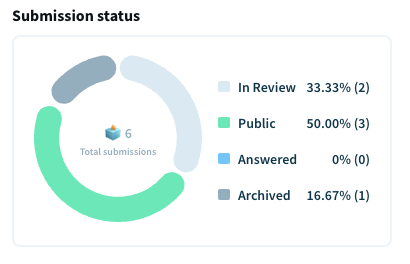
- Submission status shows a breakdown of all the submissions by their respective status.
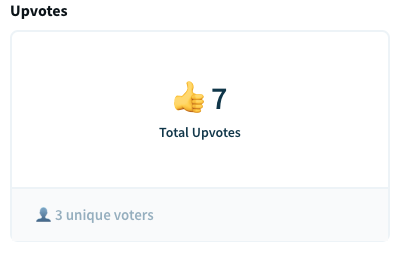
- Upvotes simply shows you the total number of upvotes received along with the count for unique users who participated by upvoting.
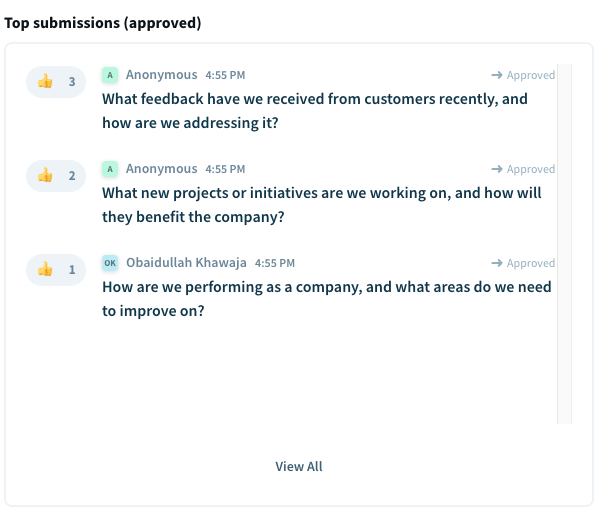
- Top approved submissions shows a list of all approved submissions. Clicking on View All shows all submissions regardless of status.
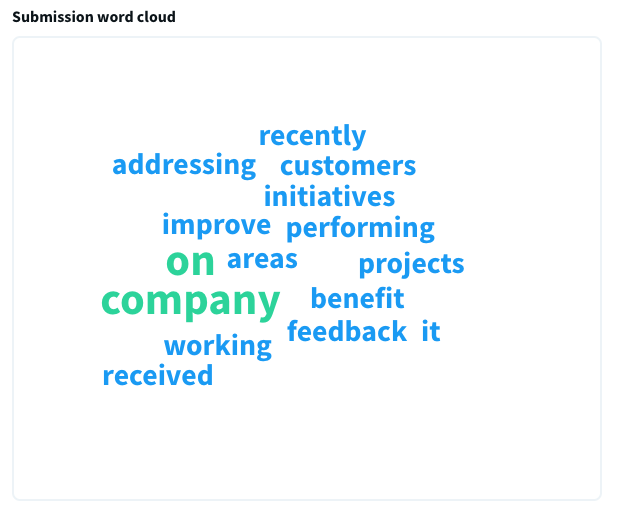
- The Submissions word cloud is generated based on the frequency of words in the approved submissions only. This word cloud updates dynamically based on the live approved submissions list.
- Submissions shows you the total number of submissions received and their breakdown by anonymous vs non-anonymous. This includes submissions regardless of status, whether they are in review, public, or archived.
- Exports
Data on the Reports dashboard can be exported in a few different ways and formats
- Individual reports can be exported by hovering on the top right corner. All 5 of individual reports can be exported as a .png image or copied to clipboard. This is quite useful for creating customized reports.
Top approved submissions can additionally be exported as a CSV as well.
- The full data set associated with a Q&A can be exported through the Exports icon and Exports Submissions CSV on the top right of the dashboard.
This allows you to download all the data associated with a Q&A. More details on the format of the Q&A export csv file are covered here. This data set is the same as the export from the Top approved submissions report.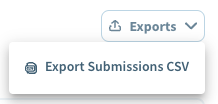
- Individual reports can be exported by hovering on the top right corner. All 5 of individual reports can be exported as a .png image or copied to clipboard. This is quite useful for creating customized reports.